create-scene.md 2.5 KB
Creating The Scene
This tutorial explains how to edit an empty scene in Unity Editor and display the image rendered from the camera to the browser.
Changing Project Settings
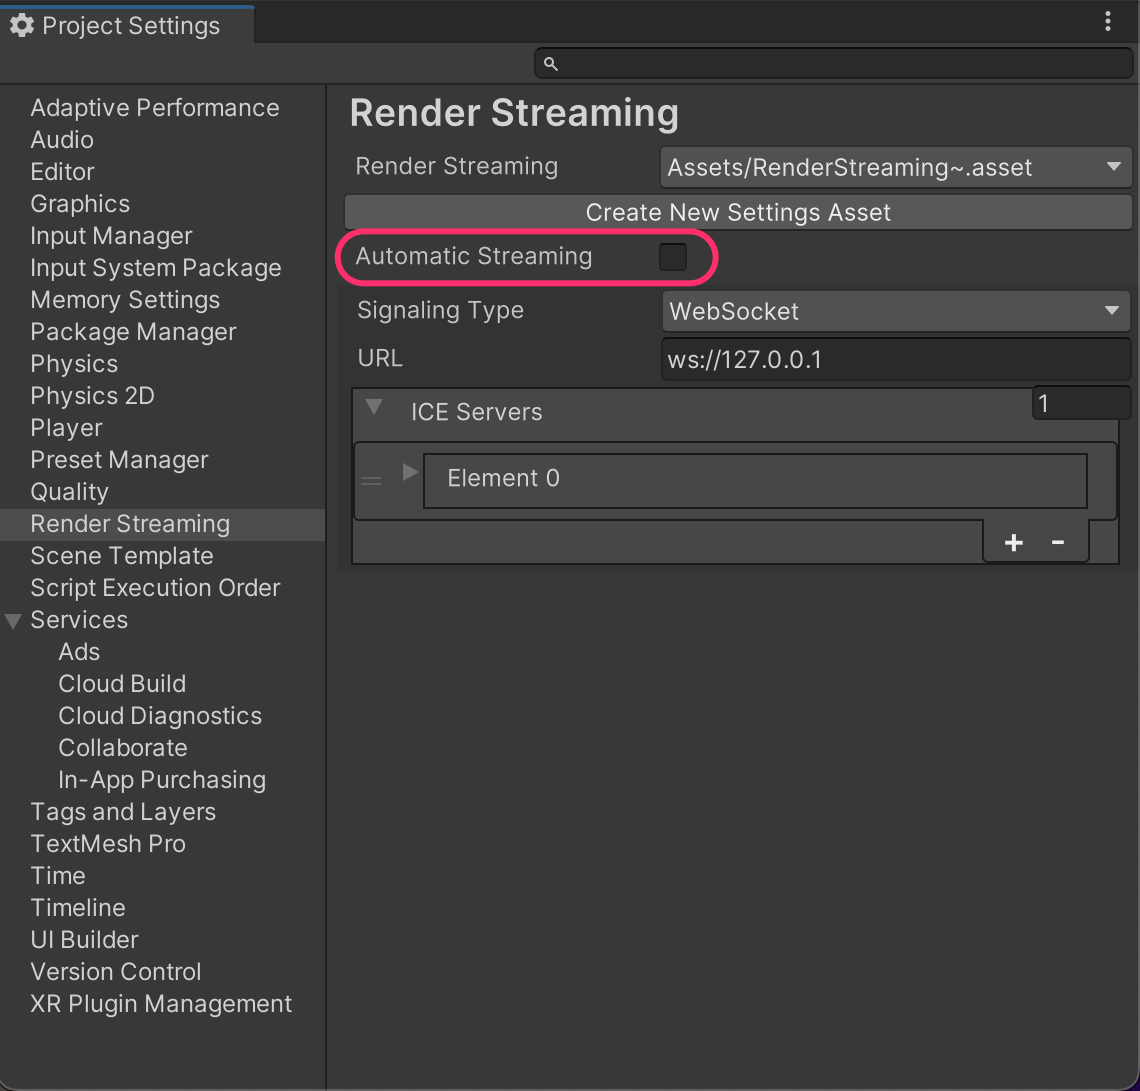
The procedure described in this page assumes that the Automatic Streaming feature is not used. Please turn the flag off following steps.
1: Open the Project Settings window.
2: Select Render Streaming tab.
3: Select Create New Settings Asset.
4: Save the asset with any name.
5: Disable Automatic Streaming.
Setting component
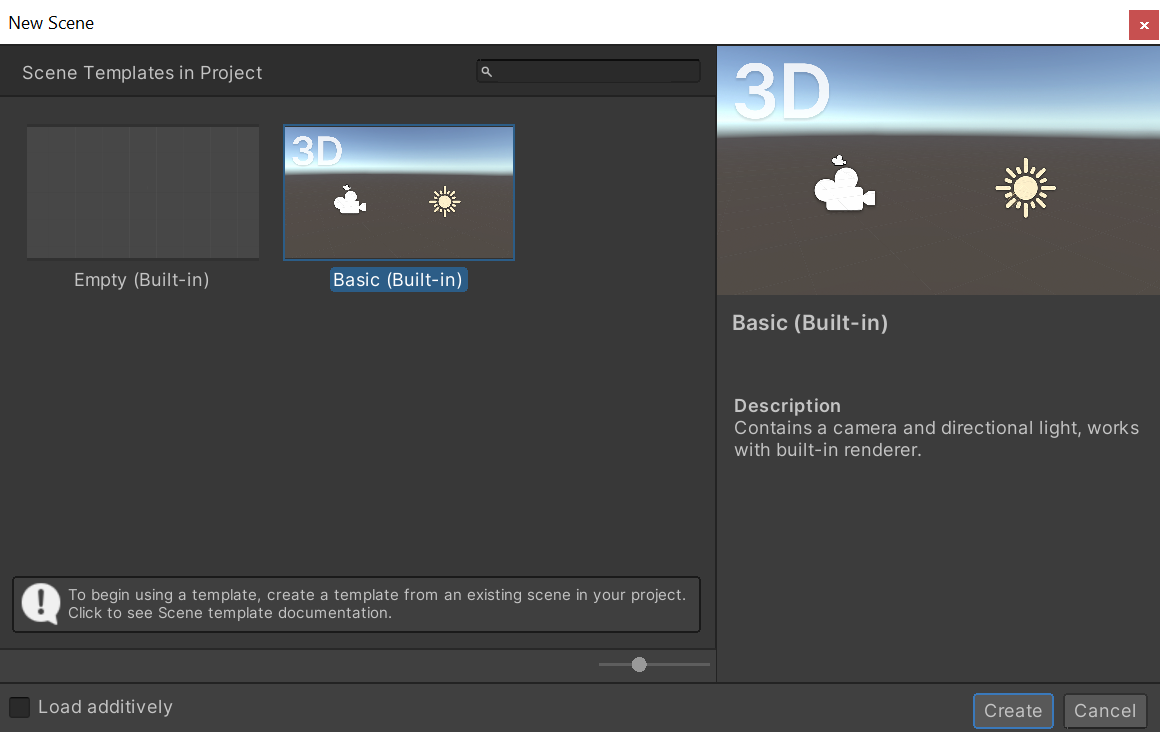
If Unity version is 2020 or later, Create a new empty scene. Select File > New Scene from the menu to open the dialog and select Basic (Built-in).
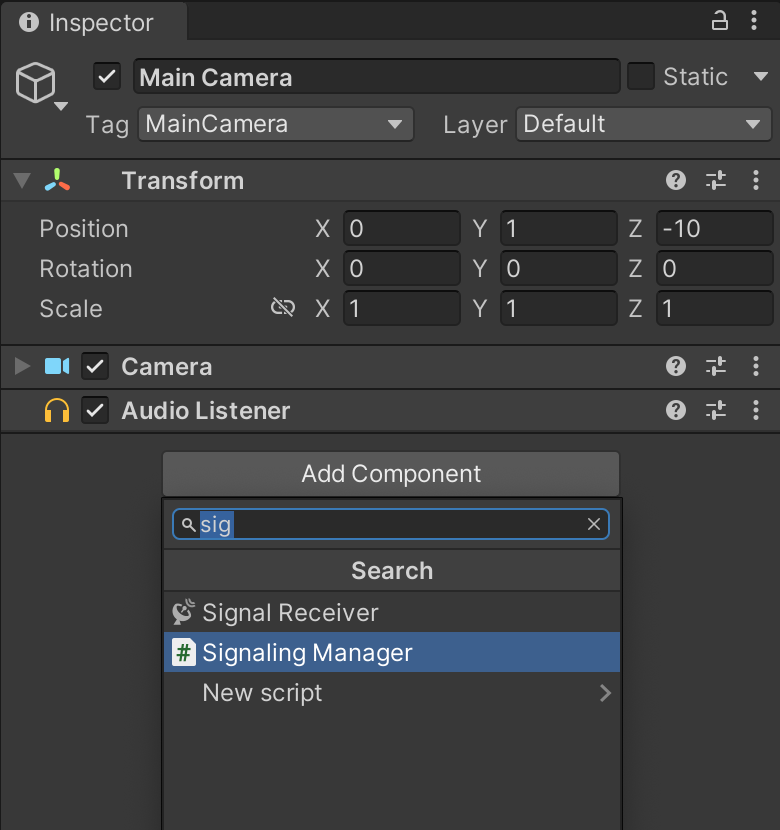
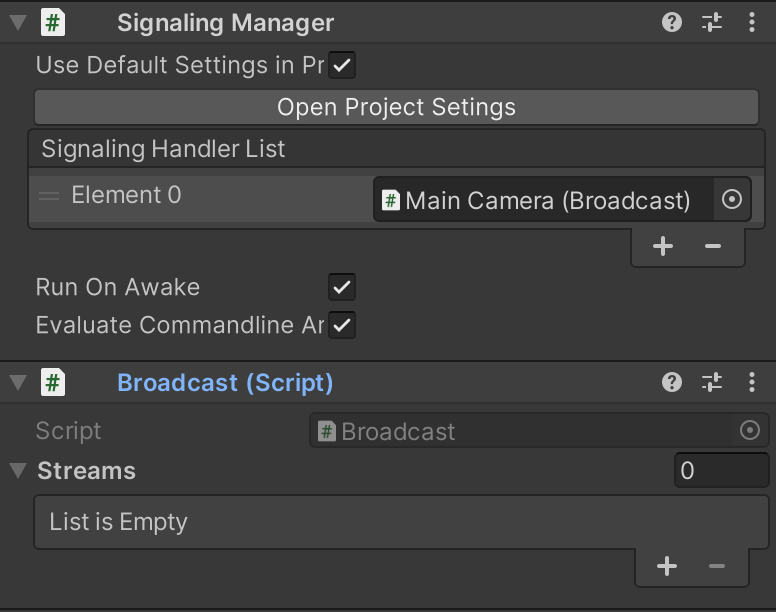
Select the Main Camera object in the Hierarchy window, and add the Signaling Manager component in the Inspector window.
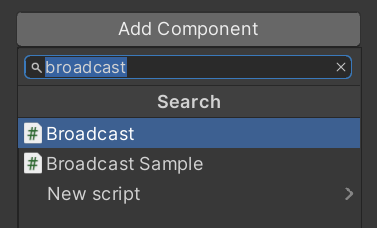
Next, we will add the Broadcast component to the Main Camera object. this component deliver the stream to multiple peers.
Assign the Broadcast component to the Handler property of the Render Streaming component.
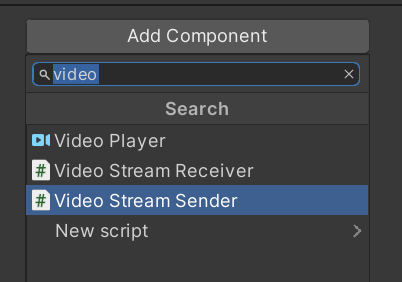
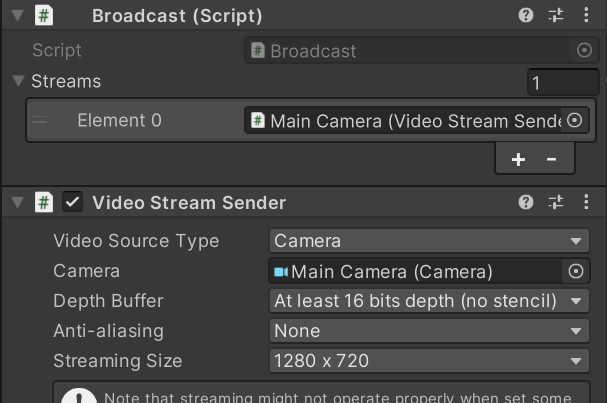
Add a Video Stream Sender component to the Main Camera object. This component refers to the Camera and delivers it as a stream to other peers.
Assign the Video Stream Sender component to the Broadcast component property. And set camera
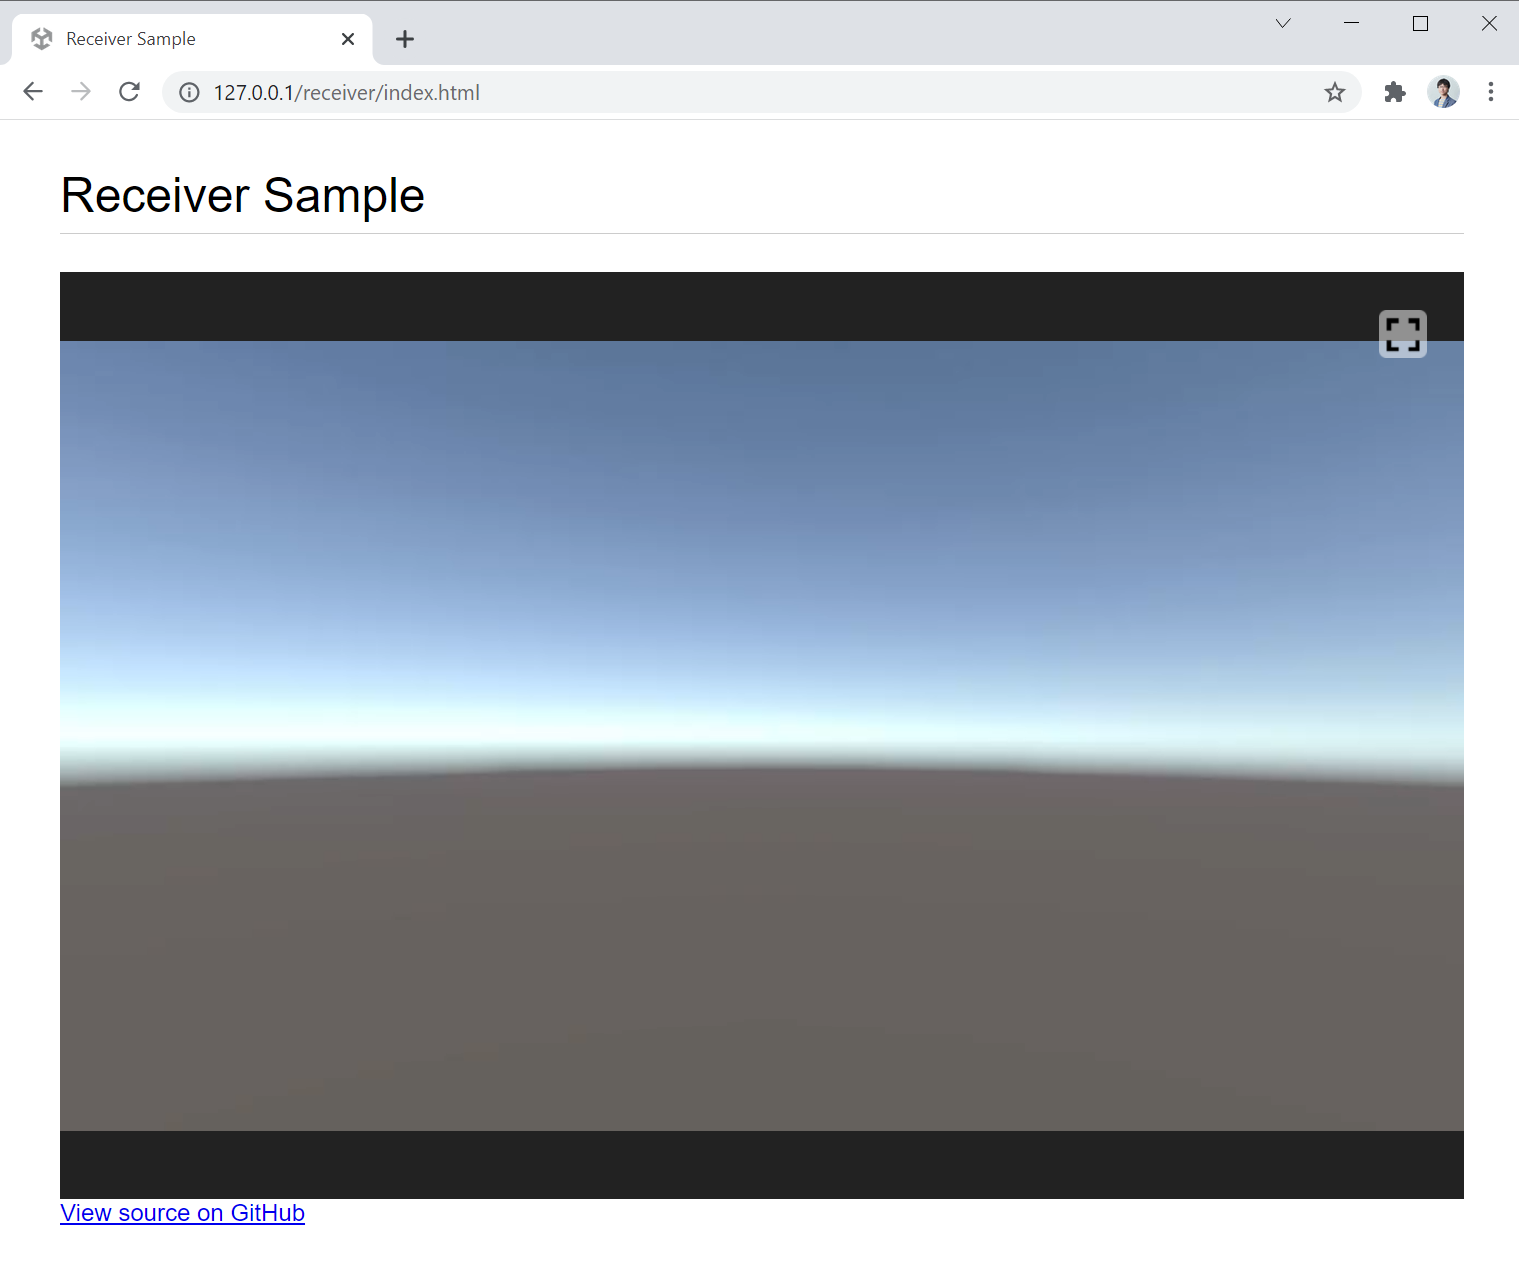
Check on browser
Open the Receiver Sample page, and you should see the video from the Unity camera appear in your browser.
Next Step
You can distribute video from Unity to the browser. It's also possible to stream audio. There are several types of components that can be streamed. Check the component page for details.
Next, please try to control the camera from the browser. Please go to the next page.
