webapp.md 2.4 KB
Web Application
The Web application
- handles signaling between Unity and the Web browser
- is the location of the Web page
The web application uses WebRTC technologies, which means that your browser must also support WebRTC. You can see a table of supported browsers here.
[!NOTE] See this page for details on which browsers support WebRTC.
Lanching The Server
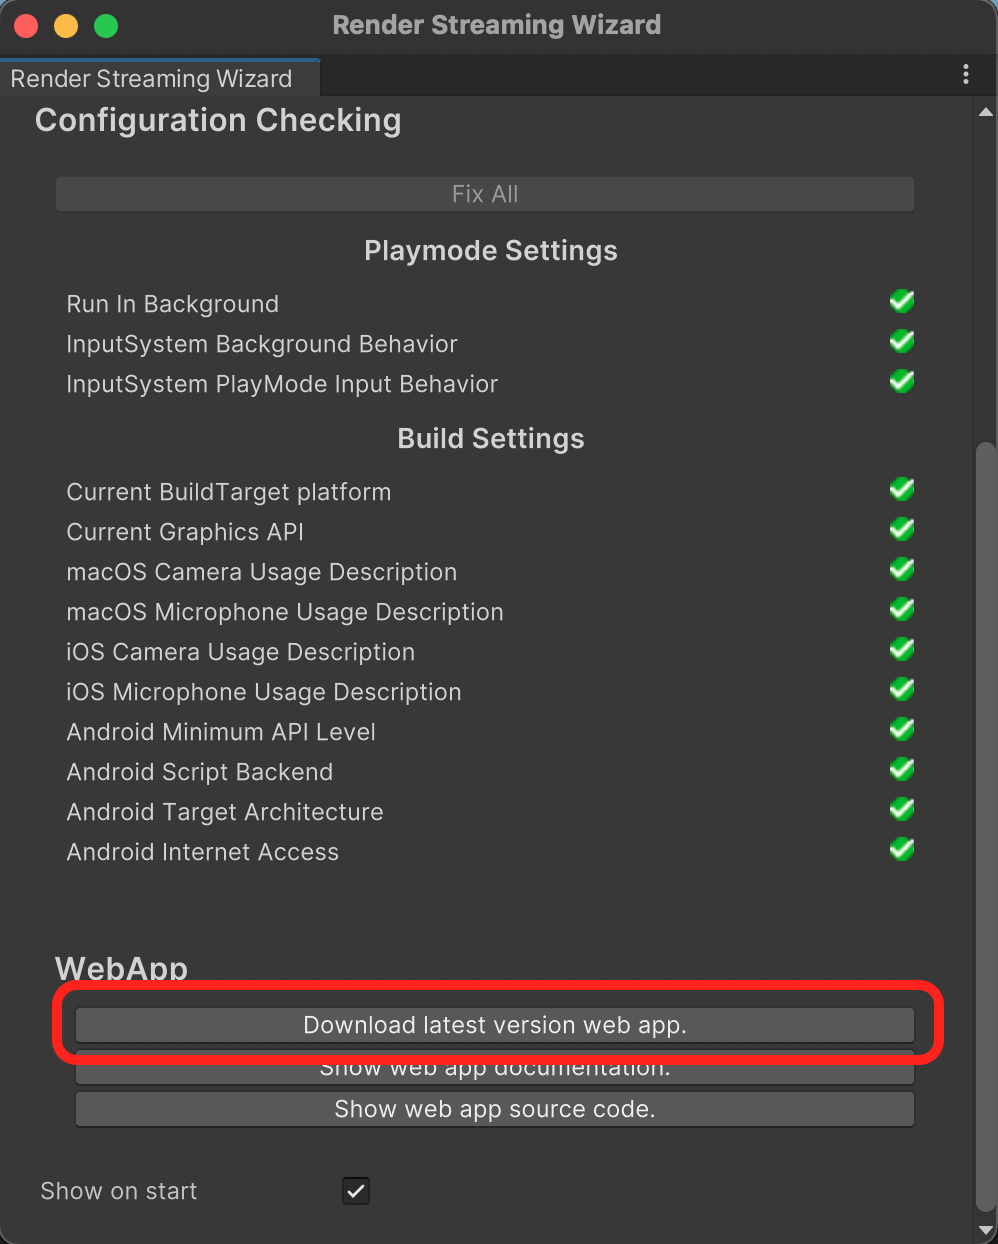
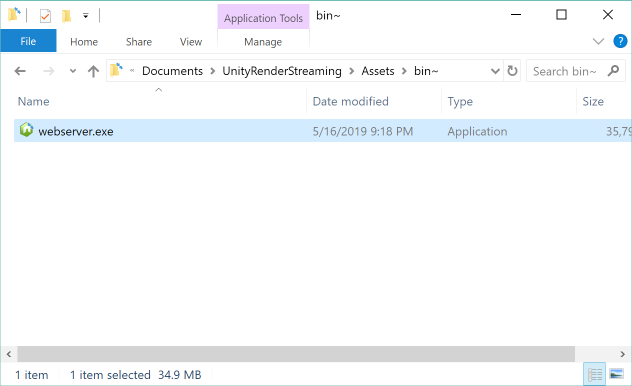
You can get a executable file of web server from the Wizard Window.
Select Window > Render Streaming > Render Streaming Wizard in the menu bar.
Select Download latest version web app.
- Run it from the command line.
Command Options
| Option | Details | Default |
|---|---|---|
-h --help |
Show the help menu | |
-p —port \<number\> |
Set the port number | 80 |
-s --secure |
Use https | |
-k —keyfile \<path\> |
Designate the private key file to use with https | server.key |
-c —certfile \<path\> |
Designate the certification file to use with https | server.cert |
-t --type \<type\> |
Type of signaling protocol, Choose websocket or http | websocket |
-m —-mode \<type\> |
Choose Communication mode public or private | public |
-l —logging \<type\> |
Choose http logging type (use morgan library) | dev |
Command Examples
Use the following command to start the server as http. Port 80 will be used.
.\webserver
This command will run the server as https. Port 443 will be used. A certificate (server.cert) and a key (server.key) must also be set up (details).
.\webserver -s -p 443
The command will run in the mode that uses HTTP polling as the signaling protocol.
.\webserver -t http
The command will run in private mode.
.\webserver -m private
[!NOTE] In private mode, Signaling only using same
ConnectionIdbetween peers.
When running a https server, keep in mind to set the URL signaling property of the Renderstreaming component in Unity to https as well.
Use this command to display the help guide.
.\webserver -h
How to custmize web application
Please see the page Customize Web Application.

